






How to Create a Good Exhibition Stand Design
 SHELTENT
-


Exhibition halls are exhausting places. Buyers walk miles of carpet under harsh fluorescent lighting, dodging pushy pitchmen while scanning dozens of lookalike exhibits. Most attendees give a booth three seconds before moving on. An effective exhibition stand design cuts through that sensory fatigue immediately.
It is not an artistic showcase. It is commercial real estate leased to grab foot traffic, qualify prospects, and give sales staff a practical place to close business. Success depends on realistic space planning, reliable hardware, and strict functional priorities. In this article, we’ll explore how to create a successful exhibition stand. Let’s take a look!
Set Clear Goals for Your Exhibition Stand
Focus on one primary commercial outcome. If your team tries to demo heavy equipment, scan thousands of casual attendee badges, and negotiate enterprise supplier contracts on the same open carpet, you get chaotic gridlock. Pick your primary business driver before touching CAD software.
High-volume badge scanning requires an open boundary with zero furniture blocking the aisle threshold. In contrast, serious commercial negotiations require acoustic isolation, padded seating, and complete separation from loud foot traffic. You cannot solve both priorities with one generic open floor plan.
Furthermore, your target buyer persona dictates how you allocate every square foot. Plant managers and field engineers want to pull panels off machinery, check weld joints, and inspect real components. Corporate executives and procurement directors may want to sit down away from the crowd, open laptops, and review contract terms. Build around the person who signs the purchase order, not the casual visitor collecting free swag.
Plan a Layout That Makes the Most of Your Space
Space planning turns your strategic goals into physical pathways. A working layout directs foot traffic with intent, keeps staff sightlines open, and gives visitors room to breathe, so they never feel trapped by sales reps.
Plan for Your Exhibition Location
Begin by considering your stand’s location. Your spot on the hall map determines how crowds approach you and where their eyes land first. Site conditions and nearby hall obstacles dictate entry points and sightlines. Here are a few key factors to consider when planning your exhibition location:
- Venue rules and safety requirements:Read the exhibitor service manual before you sketch walls or order hanging hardware. Venue marshals and local municipal inspectors enforce strict limits on maximum building height, rigging point capacities, and flame spread certifications for fabrics.
- Indoor vs outdoor booths: Indoor convention halls often offer flat concrete slabs, stable ambient conditions, and predictable power grids. You only need to control visitor focus and steer people along a structured interior path for the stand's layout. Outdoor exhibitions are completely different. You may deal with dirt or gravel pads, sudden wind gusts, driving rain, and blinding sun. Attendees usually drift in from random angles across open ground with scattered attention.
Additionally, check for any accessibility requirements. If you run a raised platform for plumbing or utility lines, it would be better to design wheelchair ramps into the layout. Skipping accessibility codes or emergency setbacks may get your build shut down during move-in.
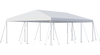
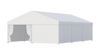
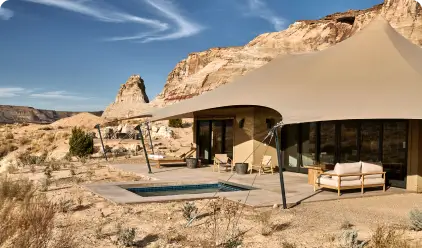
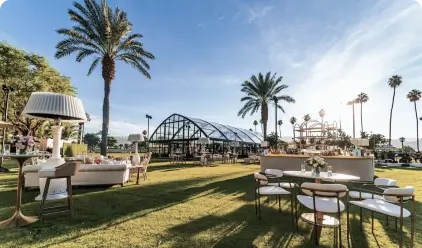
Your first job outdoors is claiming territory. You need physical boundaries to tell people they just walked into a serious commercial venue. Engineered temporary exhibition structures, such as exhibition tents, create an immediate perimeter. These weather-resistant installations protect sensitive demo gear while anchoring your brand against the visual chaos of an open fairground.

- Main aisle vs. side aisle:Main aisles work like crowded expressways. People march fast with tunnel vision. Front displays along these tracks need clean overhead branding and bold value statements readable from thirty feet away. Secondary side aisles see lower foot traffic, but people stroll more slowly and show genuine interest in detailed conversations. Place technical demo rigs, hands-on product benches, and quiet seating tables along these side edges where crowd noise drops.
- Corner spot vs middle spot:Corner spaces open up two intersecting walkways. An L-shaped counter layout keeps sightlines open across both aisles while keeping the corner intersection clear for casual walk-ins. Linear inline booths sit between two neighbors, running the risk of feeling like dark tunnels if display walls choke the front line. Center island booths face moving crowds on four sides. They require a balanced center tower and continuous circular walking loops, so guests see an intuitive entry point from every angle.
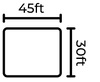
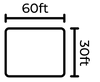
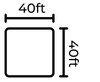
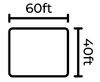
Choose the Right Stand Size and Layout
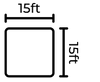
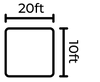
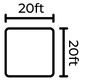
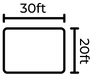
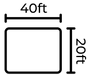
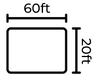
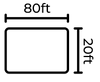
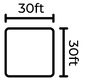
Calculate required square footage by adding up booth staff headcounts, equipment footprints, and planned customer meetings. Squeezing too much into a small footprint ruins customer conversations. Every practical exhibition stand design divides floor space into four essential zones. You need a welcoming greeting point near the carpet edge, an open product demo area, a staff support counter, and a semi-private meeting corner.
Reviewing practical exhibition stand design ideas helps balance these spaces so your booth stays welcoming during morning rushes without looking deserted during slow afternoons. It's better to keep at least thirty percent of your total floor space completely open. A clear floor area makes your booth approachable and keeps visitors from bypassing you due to crowd claustrophobia.
Create Clear Visitor Paths
When it comes to the design of visitor pathways, it's no doubt that aisle bottlenecks kill foot traffic instantly. Keep primary interior walking lanes five to six feet wide throughout the space. Two visitors carrying bags and winter coats must walk past each other without bumping shoulders or knocking into display stands.
Generous circulation loops invite people to step off the noisy main floor, test your products, and exit easily without feeling ambushed by sales staff. Wide walkways also give your team clear sightlines to greet incoming visitors.
Build a Strong Visual Identity for Your Stand
Clean floor flow gets visitors inside, but visual clarity pulls them across the room. A disciplined visual system cuts through show hall chaos and establishes credibility before a visitor even speaks to your staff.
Use Consistent Branding and Clear Messaging
Pick three brand colors, stick to two clean fonts, and keep header text under seven words. A blunt headline explaining the operational problem you solve beats paragraphs of generic corporate marketing.
Hang overhead identity banners as high as hall regulations permit. Attendees should read your company name from sixty feet out through crowded rigging pipes.

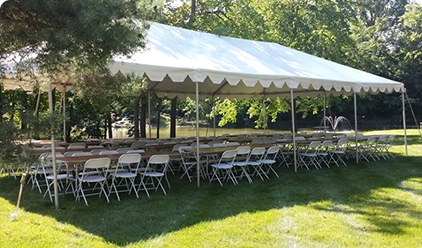
Outdoor exhibitions bring harsh daylight that washes out weak graphics, while standard pop-up canopies look tiny across broad fields. Developing a custom exhibition stand design for open-air venues demands vertical height and strong architectural presence.
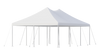
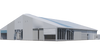
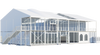
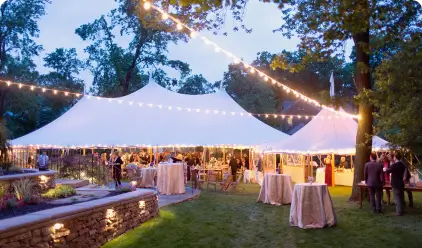
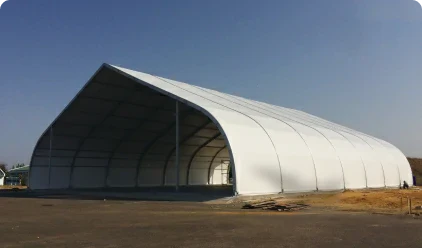
Setting up a high peak tent gives you instant visibility across crowded grounds thanks to its steep roof pitch and elevated peak. Built with structural aluminum and heavy PVC covers, this clear-span structure features no interior columns, leaving your entire floor wide open for heavy product setups and clean visitor circulation.
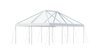
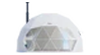
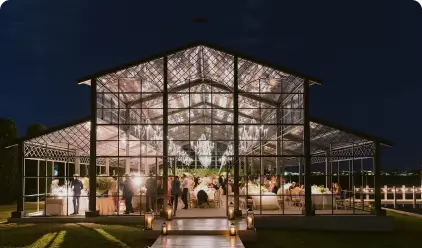
If your show strategy centers on private executive discussions or high-level sales meetings, a dome tent creates an impressive hospitality suite. Its geodesic steel geometry and panoramic bay windows block out wind gusts and fairground noise, giving you a quiet interior for contract talks.
Display Products or Services in a Clear and Engaging Way
Match your display hardware to the physical scale of your products. Mount machined parts and technical instruments on solid pedestals between forty-two and forty-eight inches above the floor. This height lets visitors inspect components closely without bending over awkwardly.
For live automation setups or moving machinery, set a three-foot safety buffer with solid barrier rails to protect spectators. Always include an enclosed, lockable storage closet for backpacks, extra brochures, and spare cables, so public tables stay clean and uncluttered throughout the show.
Use Lighting and Visual Elements Effectively
Lighting controls where eyes land. Flat hall light leaves exhibits looking dull and lifeless. Aim focused spotlights at 45-degree angles to highlight product textures without blinding attendees walking down the aisle.
Tuck LED accent strips beneath counter skirts to give display units clean architectural separation from the carpet. Applying practical exhibition stand design ideas like frameless backlit fabric panels and crisp video screens lets you show real equipment in action without scattering paper flyers over every flat surface.

Choose Practical Materials and Construction Solutions
A great floor layout means nothing if it falls apart under freight handling or fails to meet move-in deadlines. Practical material selection protects your travel budget, speeds up on-site assembly, and keeps your booth reusable for multiple seasons.
Select Materials Based on Your Needs
When teams evaluate how to build an exhibition stand, they must balance surface aesthetics against transport weight and repeat use.
Custom-painted wood walls look solid, but they scratch during shipping, require expensive carpentry crews, and usually head straight to the landfill after the show.
Modular aluminum frames fitted with silicone edge fabric graphics offer a much smarter alternative. These lightweight systems pack into wheeled flight cases, slash handling weights, lock together with standard hex tools, and reconfigure cleanly across different booth footprints from show to show.
Plan for Power and Equipment
Map utility drops before anyone lays carpet pad. Run power cords and Cat6 data lines through low-profile floor raceways or underneath raised platforms so visitors never trip over taped-down cables.
Total your continuous electrical loads for video walls, bright product spots, and hospitality gear like coffee machines to avoid tripping main breakers during client meetings.
Leave a four-inch ventilation gap behind recessed monitors, so equipment does not overheat during long exhibition days.
Review Your Design Before the Exhibition
Fixing mistakes on a digital model costs zero dollars. Fixing mistakes on site under move-in clock pressure costs thousands in rush labor. A pre-build review catches clearance traps and sightline blind spots early.
Review the Layout and Visitor Experience
Evaluate your exhibition stand design from the exact eye level of an attendee approaching from the aisle. Confirm that tall neighboring booths will not block your hanging banner from the hall entrance. Pull your front greeting counters at least three feet back from the perimeter aisle. This small buffer prevents conversation clusters from spilling into the walkway and blocking new visitors.
Verify that the video display sound does not drown out seated conversations in your meeting lounge. Make sure your layout includes a lockable storage room where staff can hide personal bags and restock supplies out of public sight.
Check the Design Against Your Budget and Timeline
Audit project costs against your initial plan. Factor in hardware fabrication, graphic printing, video rentals, venue utility drops, and local setup labor. Build safety buffers into your delivery and move-in schedule. You need margin for venue plan sign-offs, freight terminal handling, and on-site hardware checks so your team never scrambles an hour before the show opens.
Prepare for Setup and On-Site Adjustments
Hand your setup crew fully dimensioned assembly drawings, electrical drop plans, and a structured build sequence. Knowing how to build an exhibition stand with modular hardware gives your field team the flexibility to handle uneven venue floors, mislocated utility floor boxes, or missing bolts without stalling the build.
Power up all lighting fixtures, video displays, and sound gear a full day before the show floor opens. That leaves ample time to replace pinched cables or bad power supplies before the first attendee walks the aisle.
Bring Your Exhibition Stand Design to Life
A working exhibition stand design balances clean visitor movement, dependable hardware, and straightforward visual messaging.
When your event schedule calls for weather-ready outdoor pavilions or modular indoor displays, working with an experienced manufacturer, Sheltent delivers structural frames, durable covers, and modular engineering built for repeat show tours. Define your functional priority, pick hardware engineered for repeat use, and build an environment focused on real sales conversations.
FAQs About Exhibition Stand Designs
1/How long does it take to design and build an exhibition stand?
Experienced exhibition managers recommend planning twenty to twenty-four weeks ahead of opening day for large custom builds, or twelve to sixteen weeks for modular exhibits. The first four weeks focus on spatial layouts, budget sign-offs, and concept approvals. The next six to eight weeks cover structural engineering drawings, venue safety filings, electrical drop orders, and frame fabrication.
The final six weeks handle graphic printing, warehouse test assembly, and freight dispatch. Pre-engineered modular aluminum structures and pre-fitted fabric graphics can compress this timeline by four to six weeks, providing reliable turnaround when show deadlines are tight.
2/Can an exhibition stand be reused for different trade shows?


