How to Set up a Canopy and Collapse It? - Sheltent
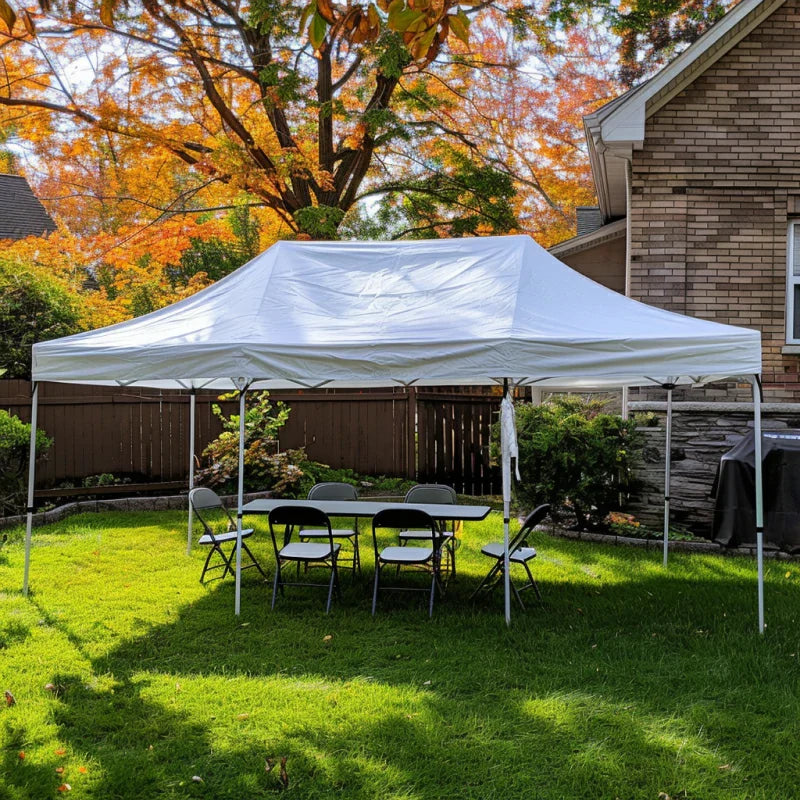
Canopy are often used for outdoor activities and are characterized by portability. A canopy is a temporary structure that is relatively easy to install. Knowing how to set up a canopy can help save time and prevent accidents. In this article, with just a few simple steps, you can master how to do it.
Preparation before Setting up a Canopy
Before installation, you need to prepare in advance, such as preparing parts in advance, reserving the space required for installation, and observing the weather. Next, we will describe these steps in detail.
Prepare Accessories
Prepare the canopy parts in advance, otherwise you may run around because of the lack of a part during the construction process, which seriously reduces your efficiency. Frame, tent stakes, and fabric are essential.
When placing them, please pay attention to whether they can directly touch the ground. PVC fabric especially needs to be stored at a distance of more than 10cm from the ground.
Consider the Weather
Before you prepare to install the canopy, pay attention to the weather. Choose a sunny day instead of a rainy one, making your installation much smoother. On rainy days, the ground will become very slippery, which will affect the fixing effect of the canopy.
Wind force is one of the weather factors that need to be considered when setting up a canopy. If you set up a canopy in windy weather, the installation process will be more difficult. Because the tent is not fixed properly, it can easily be blown away by the wind.
Space and Size
You need to choose a space that can accommodate the canopy, preferably larger than its floor space. This will allow ample space for anchoring.
In addition, you need to reserve some space for activities to ensure that you stay away from potential dangers in the surrounding environment during the setting up of a canopy.
How to Set Up a Canopy?
Once you have prepared the accessories and the venue, the next step is the most important part. But how to put up a canopy? Please follow the 5 steps below.
Step 1: Choose the Right Location
First, you need to find a suitable ground to install the canopy. It must be flat. This is related to how to set up a canopy's stability and security. If the ground is not flat enough, the canopy bracket may not be evenly stressed, which may cause tipping. Once tipping occurs, it may cause potential damage to the canopy.
You should check for any hidden stones in advance if installed on the grass. If you are installing on the concrete ground, check for any cracks on the ground.
Step 2: Assemble the Frame
A canopy is generally made up of several aluminum alloy uprights. When you have completed the construction of the main frame, the installation of the canopy is halfway done.
Generally speaking, canopies use modular assembly methods, and you can complete them by following the instructions. You need to put the frame up, and then connect it to the base simply. If it is a large tent, it cannot be completed by just a few people, and a forklift is needed to lift heavy components.

Step 3: Install the Tarpaulin on the Top
After completing the frame, the next step is installing the top tarpaulin. If you choose to install the tarpaulin manually, you need to thread the tarpaulin into the frame, and then use a fastener to adjust the tightness of the tarpaulin.
Of course, if your canopy is larger, you may need a fabric-pulling machine. The main purpose of using a remote control instead of manual installation is to improve installation efficiency.

Step 4: Anchoring and Stabilizing
Anchoring is an essential step in setting up a canopy. For different floors, the fixing method of the canopy will also be different. Generally, there are four fixing methods.
- Weight Plate: When the canopy needs to be installed on a floor that cannot be damaged, such as marble or tiles, canopy weights are used for fixing. The specific steps are to first lock the weight plate to the base, then check the size, and finally load the weight. The weight is used to prevent the canopy from tipping and sliding.
- Stakes and Ratchets: When the canopy is used for temporary activities and is installed on grass or mud, stakes and ratchets are used as the fixing method. The length of stakes should be no less than 800mm and the diameter should be no less than 25mm.
- Expansion Bolts: For canopies that are used for medium to long periods, or when they are fixed on concrete floors, it is recommended to use expansion bolts.The concrete thickness and the distance between the expansion bolts and the concrete should each be greater than 200mm.
- Pre-embedded Bolts: If the canopy span is large or needs to be udes semi-permanently, it is recommended to use pre-embedded bolts. In this case, anchoring will require precise data and you will need to submit a geological report of the construction site.

Step 5: Adding Canopy Side Walls and Extensions
Does your canopy have side walls? If so, there is one more step to take. In most cases, the side walls are installed using a keder track system. You should insert the slip buckle on the top of the side walls into the slot at the bottom of the frame.
And then thread the side wall keder from top to bottom into the frame. Finally, extend the side walls. This keder track design is not only convenient but also creates a waterproof and weatherproof seal.
How to Collapse a Canopy Tent?
After an event, you will need to fold the canopy. But do you know how to collapse a canopy tent? It's simple. The essence of collapse is the opposite of the installation process. Before collapsing, check if the canopy is damaged. You will need to remove the anchoring weights and then carefully retract the frame.
The last thing is the tarpaulin. Remember to avoid tearing when taking tarpaulin off. After the collapse is completed, remember to check if there are any missing parts, otherwise it will be incomplete when you use it next time.
Summary
The installation and removal of a canopy is not difficult, but it requires great care and patience. In this article, we elaborate on the specific steps. I believe that after reading, you have mastered the skills of how to set up a canopy.
If you have any questions during the operation, feel free to review the instructions in this article or consult a professional.
FAQs about Setting up a Canopy
1. What Should I Do If the Top of the Canopy Sags or Water Accumulates?
If the top of the tarpaulin is sagging, you should verify whether the top is stretched tightly during the setup process and fastened firmly to the frame.
You need to find the right distance between the canopy struts to ensure that the top tarp is full.
If there is water accumulation on the top, you can try tilting the canopy to allow the water to drain away naturally.
2. How Can I Keep the Canopy Stable?
The side legs of the canopy are usually fixed with bolts and nuts. You need to confirm that all legs are fully stretched out and locked in position. Observe whether the legs are extended to the longest position and there is no sign of retraction.
Finally, you can gently shake the legs by hand. If they are locked in place, there will be no obvious extension and shaking of the legs.
3. How to Handle the Frame Correctly?
To ensure safe use, you need to handle the frame carefully to avoid crushing it. Ensure all parts and frames are in the correct position when setting up a canopy, reducing bending and misalignment.
4. How to Maintain the Canopy?
Please develop the habit of checking your canopy regularly and don't find it troublesome, because it can extend its service life. Check the tarpaulin for damage and if there is a tear, you can repair it with glue.
You can also check the parts for corrosion and check if it functions properly. When there is serious damage, please remember to replace them.
5. How to Clean and Store the Canopy?
Don't be lazy about cleaning canopy and tarpaulin, cleaning can keep them clean and new. During the cleaning process, you can use clean water and a soft brush or rag to wipe the tarpaulin. After cleaning, don't rush to fold the canopy and store it, be sure to dry it before packing it to avoid mold.


